| Author |
 Topic Topic  |
|
arrocuda
United Kingdom
501 Posts |
 Posted - 12 Jun 2013 : 10:10:37 Posted - 12 Jun 2013 : 10:10:37


|
quote:
Originally posted by JPSH120
quote:
Originally posted by janmarine3
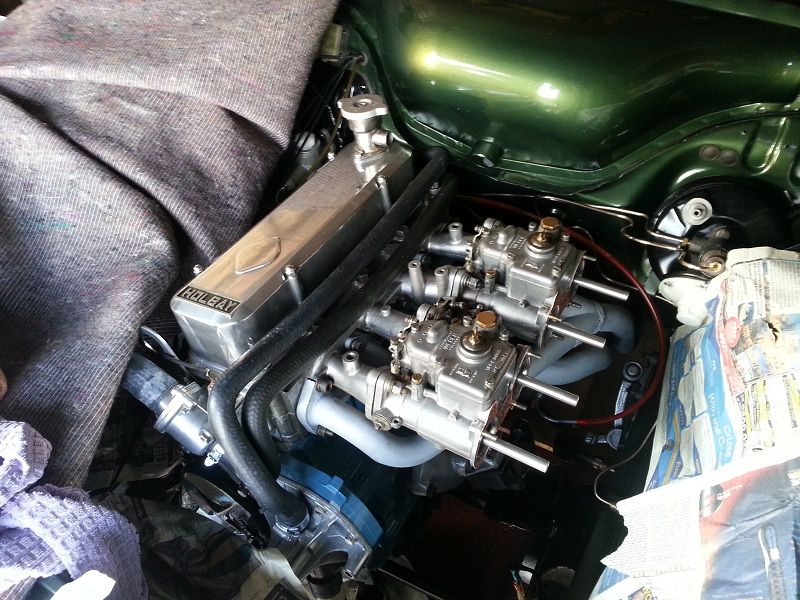
NEAT ! Bet you can't wait to hear those Webers roar 
No, but not looking forward to paying for all the fuel, they like a drink!
So you won't be using this car as a 'daily driver' then Jason! 
Building the 'Mark II' fastback Rapier ('Arrocuda'). |
 |
|
|
JPSH120
France
1198 Posts |
Posted - 12 Jun 2013 : 09:37:19
|
quote:
Originally posted by janmarine3
NEAT ! Bet you can't wait to hear those Webers roar
No, but not looking forward to paying for all the fuel, they like a drink!
___________________________________________________________________________
 |
|
|
|
janmarine3
South Africa
286 Posts |
Posted - 11 Jun 2013 : 22:28:07
|
| NEAT ! Bet you can't wait to hear those Webers roar |
|
|
|
bigt80
United Kingdom
1053 Posts |
Posted - 11 Jun 2013 : 20:29:45
|
Yes, continuing to look good and what's more you've solved my problem with your last photo in which way round the heater pipes go to the pump/thermostat. I've abandoned the water heated manifold on my kack-hander and gone for the H120/Alpine pipework, but could not remember which way round they went  . Cheers. G . Cheers. G  |
|
|
|
Fastback Thomas
Belgium
423 Posts |
Posted - 11 Jun 2013 : 18:52:15
|
Very nice! I'm jealous!!! keep up the good work!
'68 sunbeam rapier fastback {B341006846 OD/LHO}
I like a car that looks normal but really knocks your socks off!!
|
|
|
|
JPSH120
France
1198 Posts |
Posted - 11 Jun 2013 : 15:09:14
|
Bit more progress to report;
___________________________________________________________________________
|
|
|
|
janmarine3
South Africa
286 Posts |
Posted - 05 Jun 2013 : 08:58:24
|
| Good work ! You must have a great feeling having killed all that rust. |
|
|
|
JPSH120
France
1198 Posts |
Posted - 03 Jun 2013 : 11:32:05
|
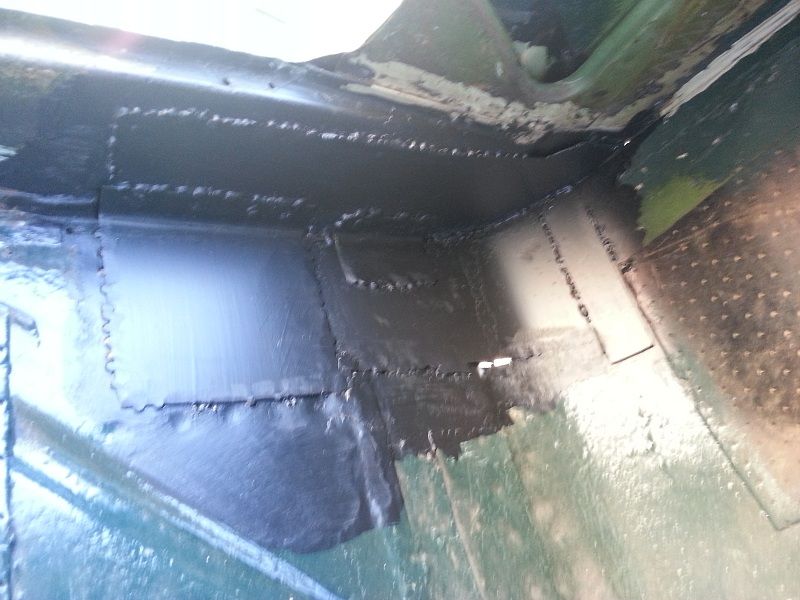
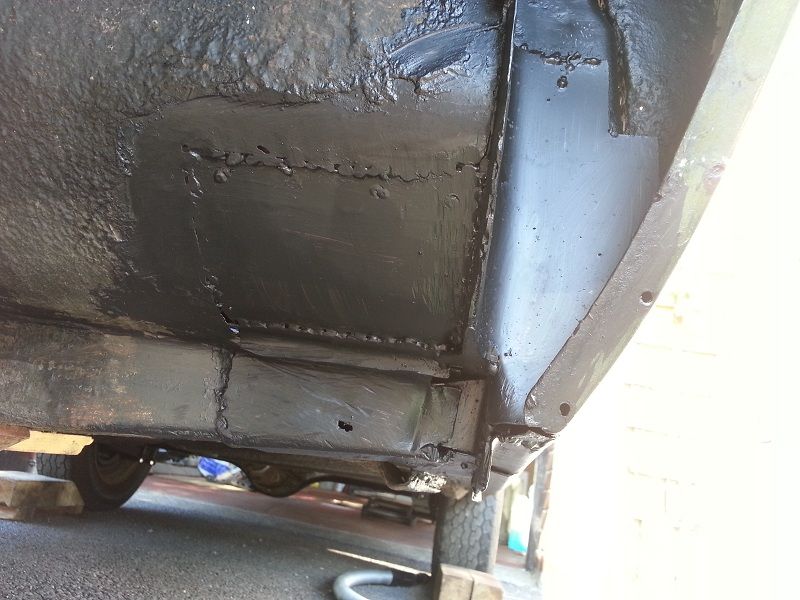
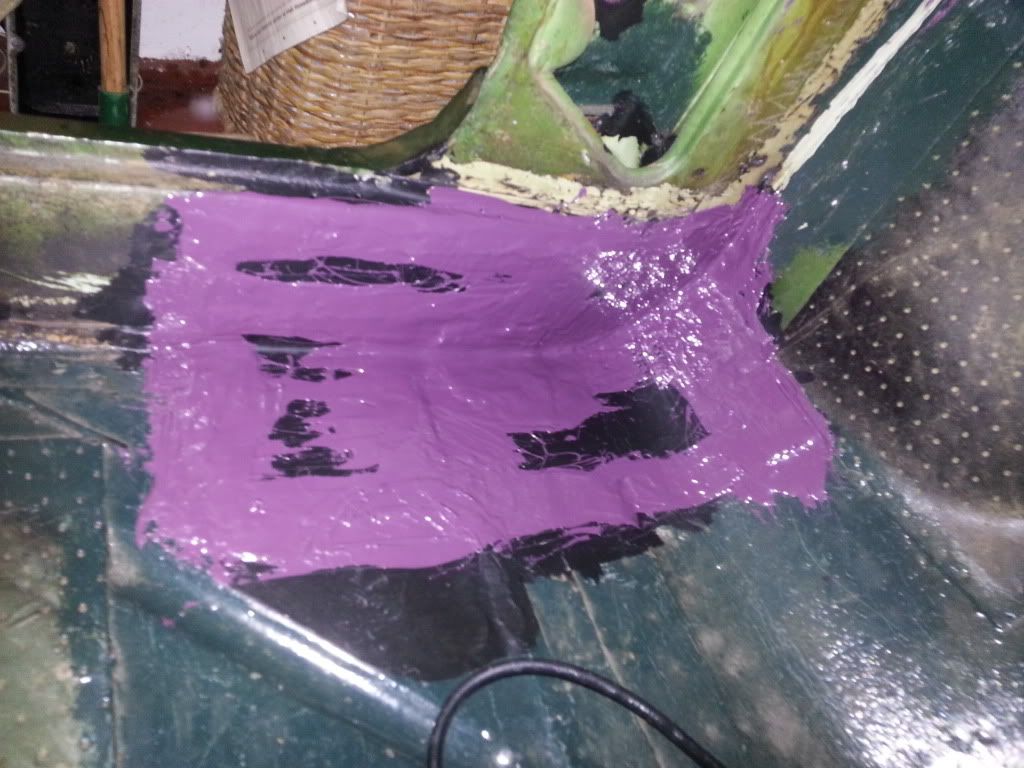
All finished now, coat of rust proof, then seam sealed then painted. Underside will be wax-oyled to complete the job

___________________________________________________________________________
|
Edited by - JPSH120 on 03 Jun 2013 14:15:10 |
|
|
|
JPSH120
France
1198 Posts |
Posted - 20 May 2013 : 16:11:56
|
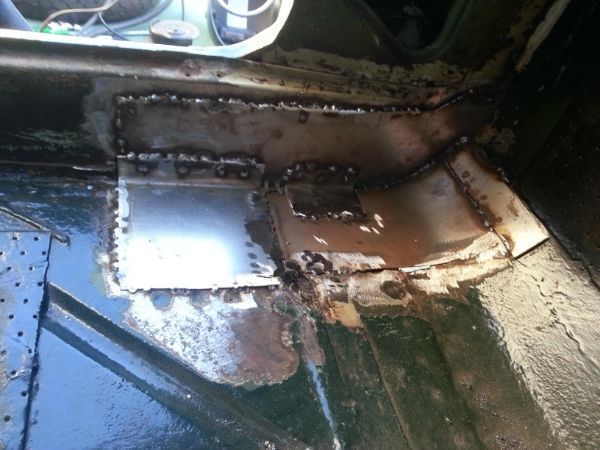
Cheers Jon, I am happy with the results. It is all seam welded apart from 1 very small area. I've given it all a coat of rust protector, tonight I will be seam sealing then it can have a coat of metal paint followed by waxoyl.
Got to finish off the paint now
___________________________________________________________________________
|
|
|
|
Jon
United Kingdom
221 Posts |
Posted - 19 May 2013 : 14:11:35
|
Looking good for first go, make sure you seam weld all the joints on the plates else it will be a mot fail unless you cake it with seam sealer but bit naughty I would seam weld it then use a flap wheel, then seam sealer it Cant wait to see this out on the road keep up the good work I would seam weld it then use a flap wheel, then seam sealer it Cant wait to see this out on the road keep up the good work
Hillman Avenger MK1 GT,
Commer PB Pick-Up,
Commer PB Panel Van,
Commer Auto sleeper,
Triumph Stag MK1,
Chevette HS x2,
Lancia Delta Integrale,
Fiat Mk1 Uno Turbo,
Rapier Fastback,
MGZS 180kit TD MK2,
MK5 Transit Hallmark 1965-95 celebration,
MK5 Transit 2.5td 150,
|
|
|
|
JPSH120
France
1198 Posts |
Posted - 17 May 2013 : 09:30:43
|
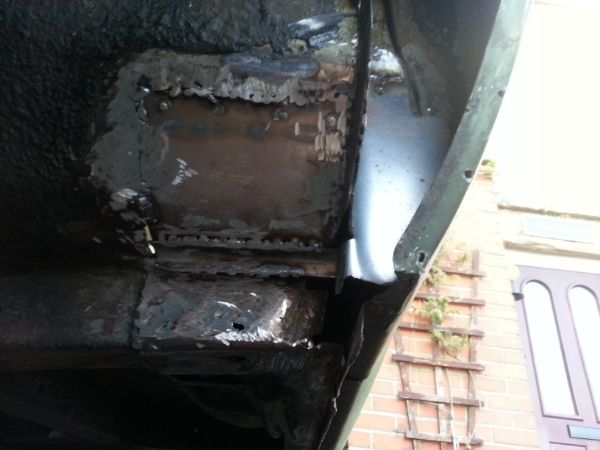
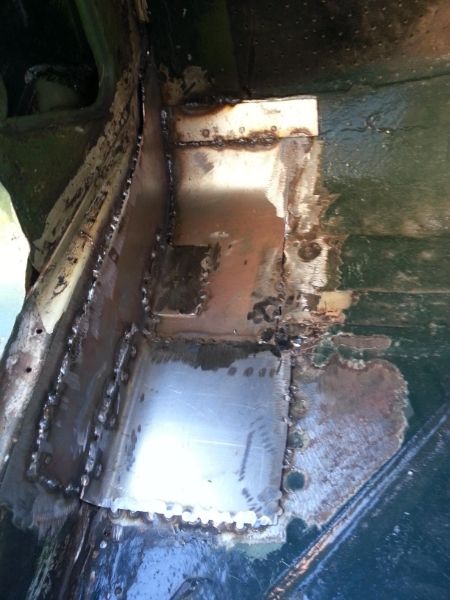
Nearly there now with the welding, a small piece to finish off. Quite happy with the results considering this is my first attempt, not quite as neat as I would have like but the area was very bad and I had to keep going further to find something solid to weld to. I didn�t have access to sheet metal tools so ended up welding a small piece to the front of the floor section which acted as a joggle allowing the main repair section to fit nicely into the hole. Then I added a second piece at the back to overlap and add extra strength, welding to the sill piece, the small right angle piece is also there for strength to join floor & sill.
Once I�ve done some more grinding back and seam sealed it should look much neater!
___________________________________________________________________________
|
|
|
|
bigt80
United Kingdom
1053 Posts |
Posted - 04 May 2013 : 19:49:05
|
quote:
Originally posted by HunterGLS
I think I will be doing the same.
I didn't know you could get Boge shocks, I've only seen Spax and Armstrong.
Yes, I have to say that in my heyday it was only Spax available as uprated for the rear & Koni's for the front. Mine have now been sitting for 13years, but hope all will be well when it finally gets on the road: still kack-hander to go first. Small update on that on the thread! |
|
|
|
bigt80
United Kingdom
1053 Posts |
Posted - 04 May 2013 : 19:48:00
|
quote:
Originally posted by HunterGLS
I think I will be doing the same.
I didn't know you could get Boge shocks, I've only seen Spax and Armstrong.
Yes, I have to say that in my heyday it was only Spax available as uprated for the rear & Koni's for the front. Mine have now been sitting for 13years, but hope all will be well when it finally gets on the road: still kack-hander to go first. Small update on that on the thread! |
|
|
|
Jon
United Kingdom
221 Posts |
Posted - 04 May 2013 : 09:49:40
|
Your not far away with the original shape but to add some strength it could do with a flange on the floor pan part facing down and running along the sill section. You could then plug weld it to the inner sill to make it look more oe. Then just run some seam sealer along the joins.If you jogle the edge seam weld and linish it back will almost be invisible repair
Hillman Avenger MK1 GT,
Commer PB Pick-Up,
Commer PB Panel Van,
Commer Auto sleeper,
Triumph Stag MK1,
Chevette HS x2,
Lancia Delta Integrale,
Fiat Mk1 Uno Turbo,
Rapier Fastback,
MGZS 180kit TD MK2,
MK5 Transit Hallmark 1965-95 celebration,
MK5 Transit 2.5td 150,
|
|
|
|
JPSH120
France
1198 Posts |
Posted - 04 May 2013 : 09:14:12
|
Cheers Jon, it's been quite tricky trying to work out how the bottom of the door post is meant to look as it was non existent! And I think you are probably right about the floor piece, I wasn't overly confident about butt welding it in to be honest, if I add some extra it will give some margin for error!
___________________________________________________________________________
|
|
|
|
Topic |
|